


[ad_1]
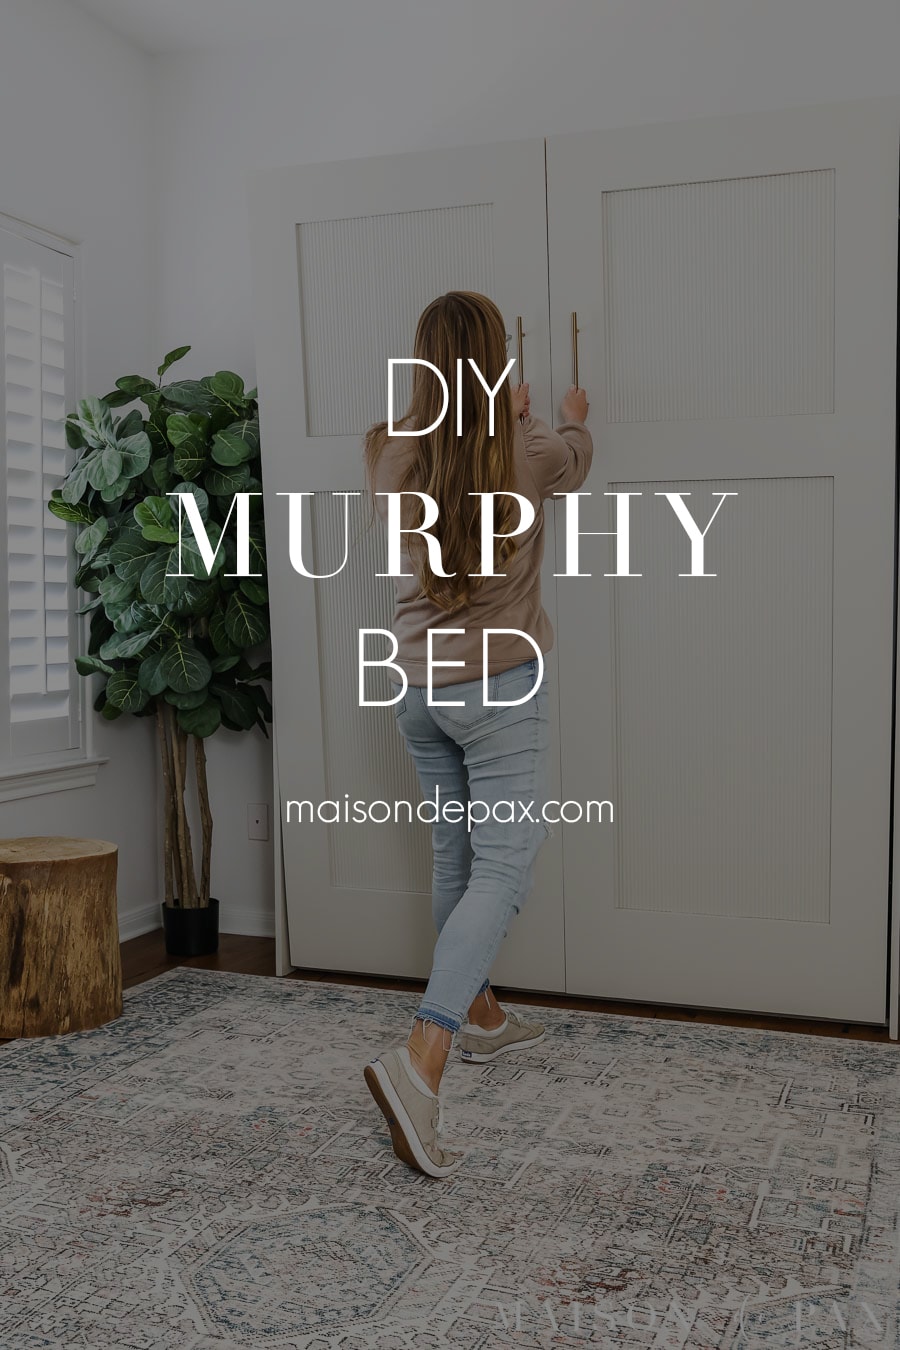
Learn how to build a beautiful DIY murphy bed with FLUTED doors using a highly rated murphy bed kit and some careful planning.
I may be a tad embarrassed by how long it took me to complete and share this DIY murphy bed, but I am proud as can be of how it turned out! In fact, I kind of want to invite every person who comes to my home upstairs to the spare bedroom that doubles as my office (is that weird?!?) just so I can casually drop that I built that gorgeous armoire-looking piece with fluted doors that also doubles as a hidden queen-sized bed. Ha!
But seriously, I had no idea how to build a DIY murphy bed when we started this project. After lots of planning, a little trial-and-error, and some serious perseverance, we have a beautiful, functional wall bed that’s perfect for guests.
Why Build a Murphy Bed
Murphy beds – also called cabinet beds, pull-down beds, fold-down beds, wall beds, and more – are beds that can be folded up into a cabinet. A cabinet murphy bed can be a brilliant solution for small spaces. There are both horizontal murphy beds and vertical options.
Essentially, the doors of the cabinet are the bed platform. They hold a mattress up against a wall until you are ready to use it, at which point you can fold it down for use.
We have a small bedroom (approximately 9.5′ x 12′) which used to be the guest room and then the nursery. Most recently, when my girls started sharing my older daughter’s room, this little bedroom began to triple as my office space, a little extra play space for my girls (since their room is so small), and our only guest room.
As my children have gotten older and my business has grown, I really needed some dedicated space for my desk, computer, and interior design samples. Unfortunately, the room is simply not big enough for even a full sized mattress (much less a queen size bed frame) and desk/storage space for me. Plus, that left no floorspace whatsoever for my kids… so we decided a murphy bed would be the best solution for this home office, guest bedroom, playroom combo.
This post contains affiliate links. Click here to read my full disclosure.
How to build a diy murphy bed
At this time I have not written up the specific building plans we used for this project (though I am curious if you would be interested in my trying to create those??). I will, however, walk you through the basic step by step instructions for building a DIY murphy bed using a murphy bed kit.
1. Collect Materials
We used the following materials and tools:
- Rockler murphy bed kit, queen size
- 3/4″ maple plywood
- 1×3, 1×6, and 1×10 primed pine boards
- fluted trim
- wood glue, construction adhesive
- wood filler, caulk, primer, and paint (Bher Marquee Sculptor Clay in satin)
- brass handles
- tools: table saw, sliding miter saw, clamps, drill, brad nailer, kreg jig and screws, utility knife and pry bar (for baseboard removal), caulk gun, paint sprayer, stud finder
2. Plan Your Build
We took the building instructions that can be found on Rockler’s site along with their murphy bed kit and adapted them for our own use. They also have a plan that includes shelving units on either side if you are interested (we decided to skip the shelves since our room is so small). You will need to plan according to the kit you use to ensure it will fit properly.
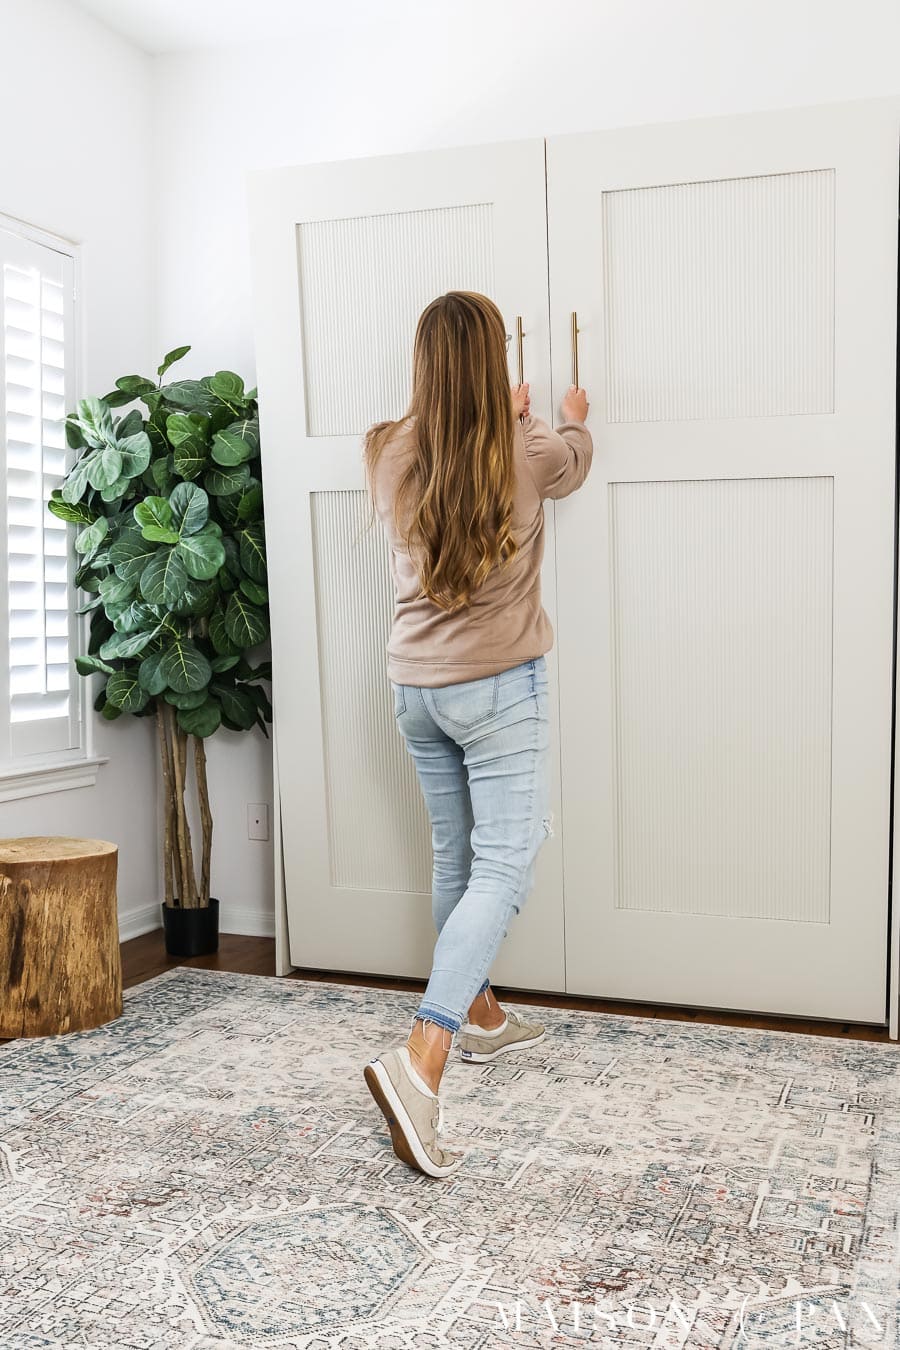
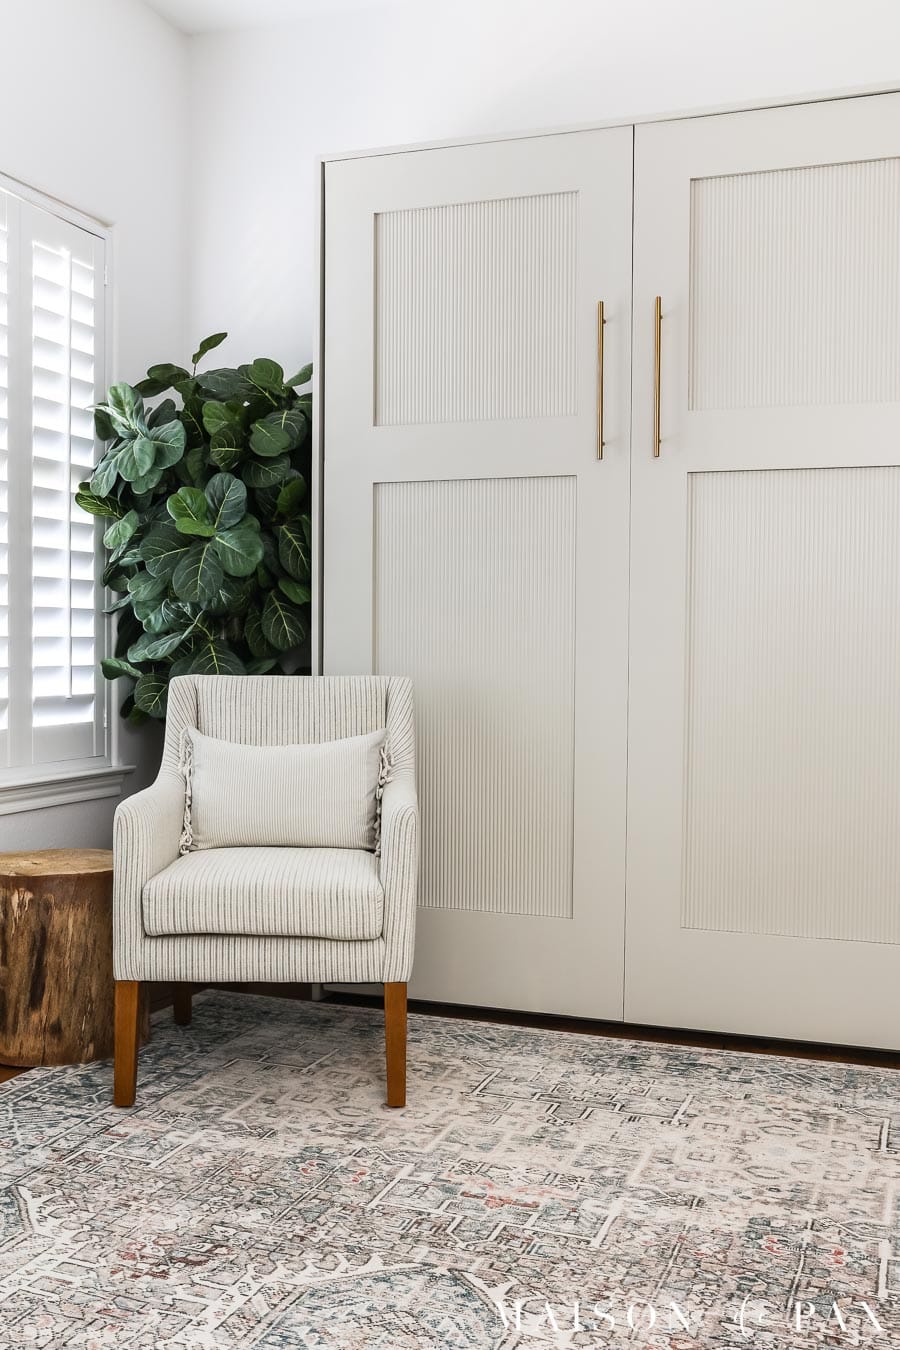
Additionally, I wanted the cabinet when closed to look more like an armoire with two big doors. Fluted doors. So I planned the door sizes accordingly.
3. Cut cabinet frame and Assemble Doors
We created the frame of the cabinet from our 3/4″ plywood and trimmed the 1×2 boards to use for the finished edges. We then assembled the decorative frame for the front of the doors using the 1×5 and 1×8 boards. Using our Kreg jig, we created pocket holes for all the joints and used wood glue and clamps to attach the rail and stile of our “doors” to the plywood backing.
We then filled in the spaces on the door with the fluted trim. As others have discovered, the fluted millwork has to be trimmed ever so slightly (approximately 1/32″) using a table saw so that it will meet up without any gaps. We then attached the trim with construction adhesive.
It was tedious, but I love how the doors turned out.
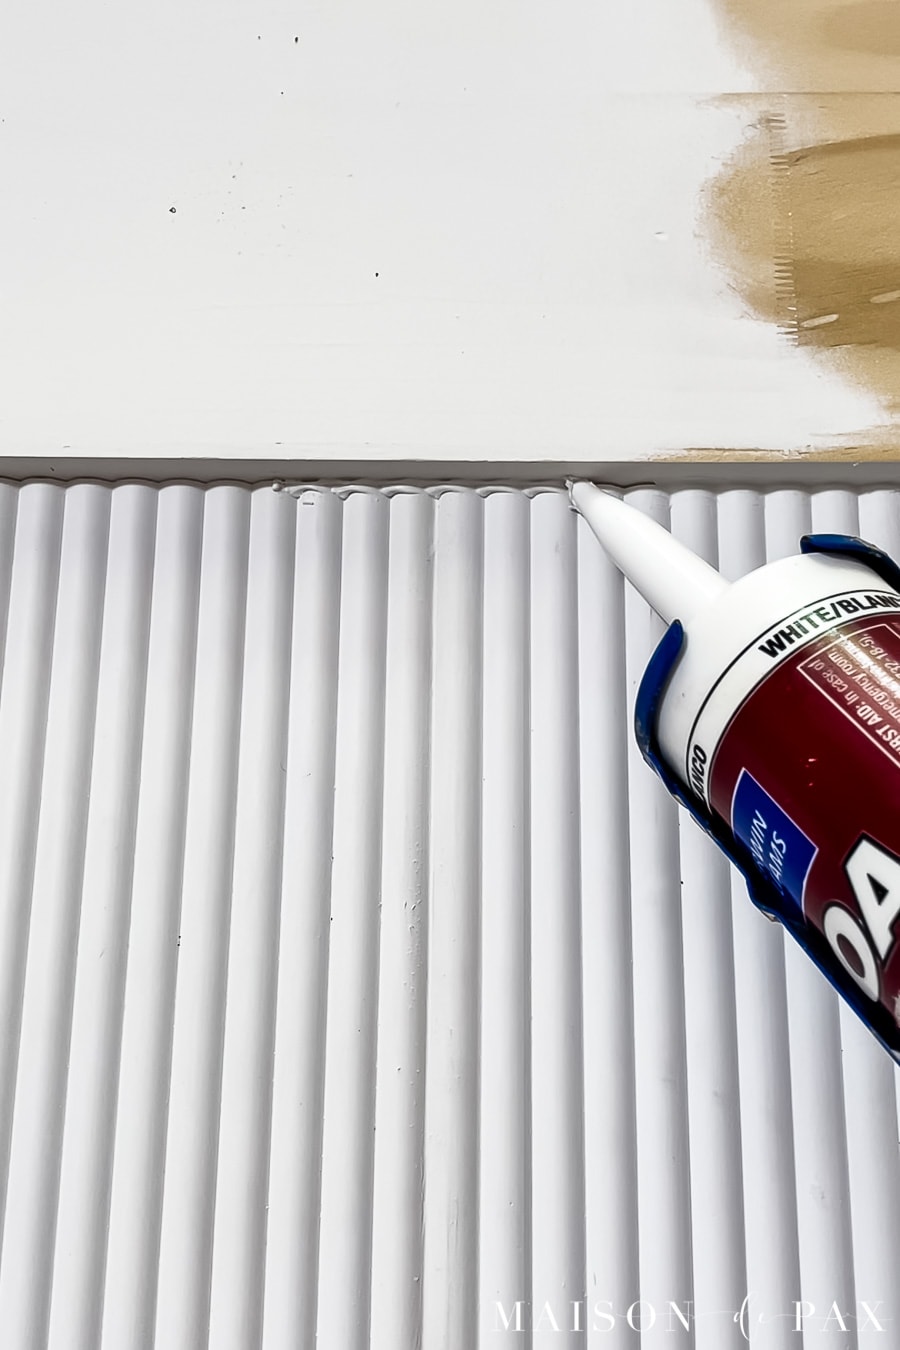
4. Caulk, Prime and Paint Cabinet
Caulking around the fluted trim was also tedious, but it was worth it. We also filled all finishing nail holes with wood filler. We then primed and painted all the pieces using my paint sprayer before actually assembling the bed and cabinet.
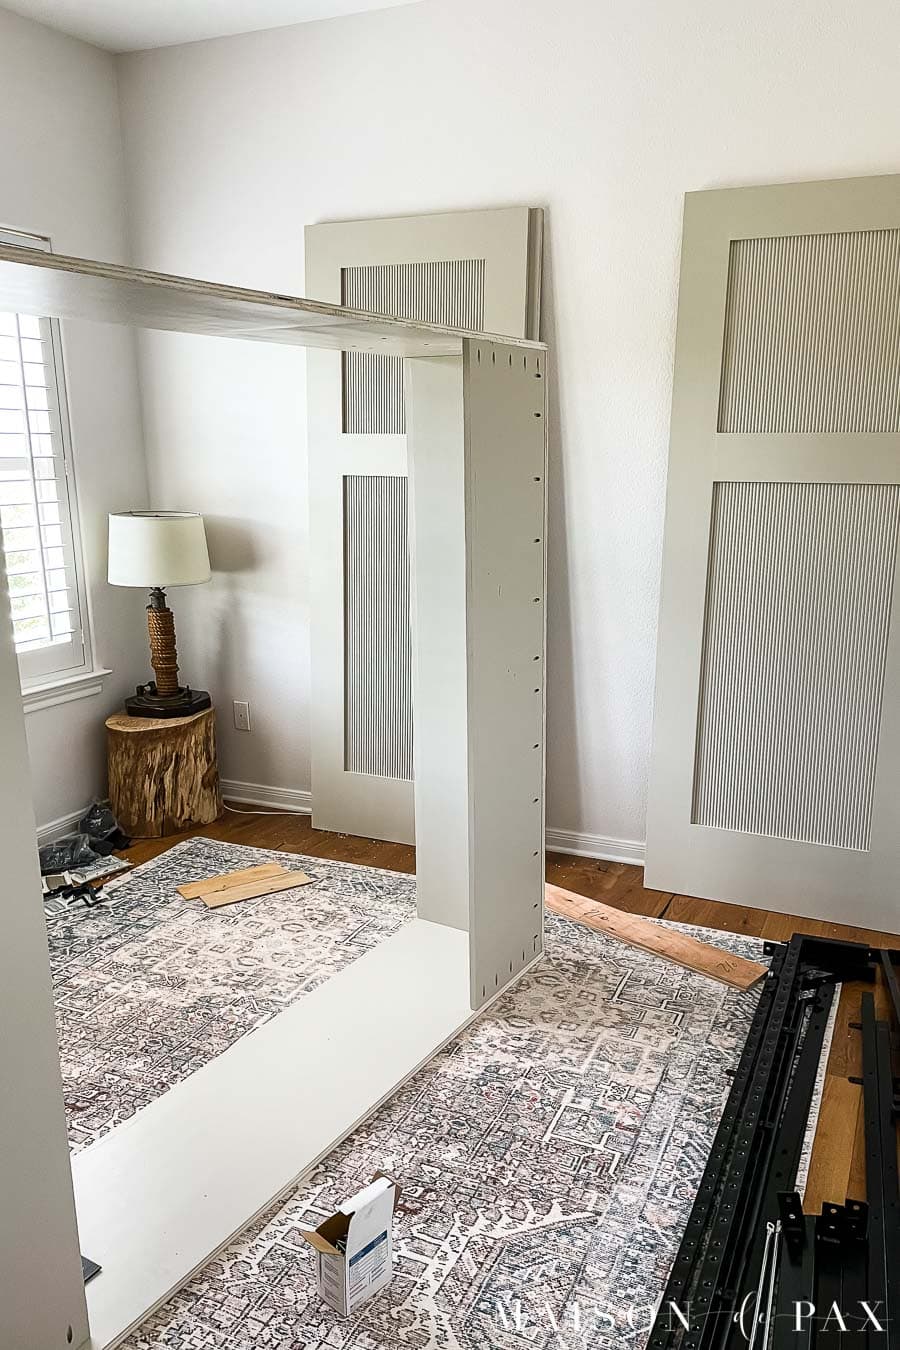
5. Assemble the Murphy bed cabinet
Once you are in the room where you plan to install the murphy bed, put the sides, top, and back together. The door hinges are installed into the frame sides of the cabinet, so be sure to follow all instructions for installing the receiver plates.
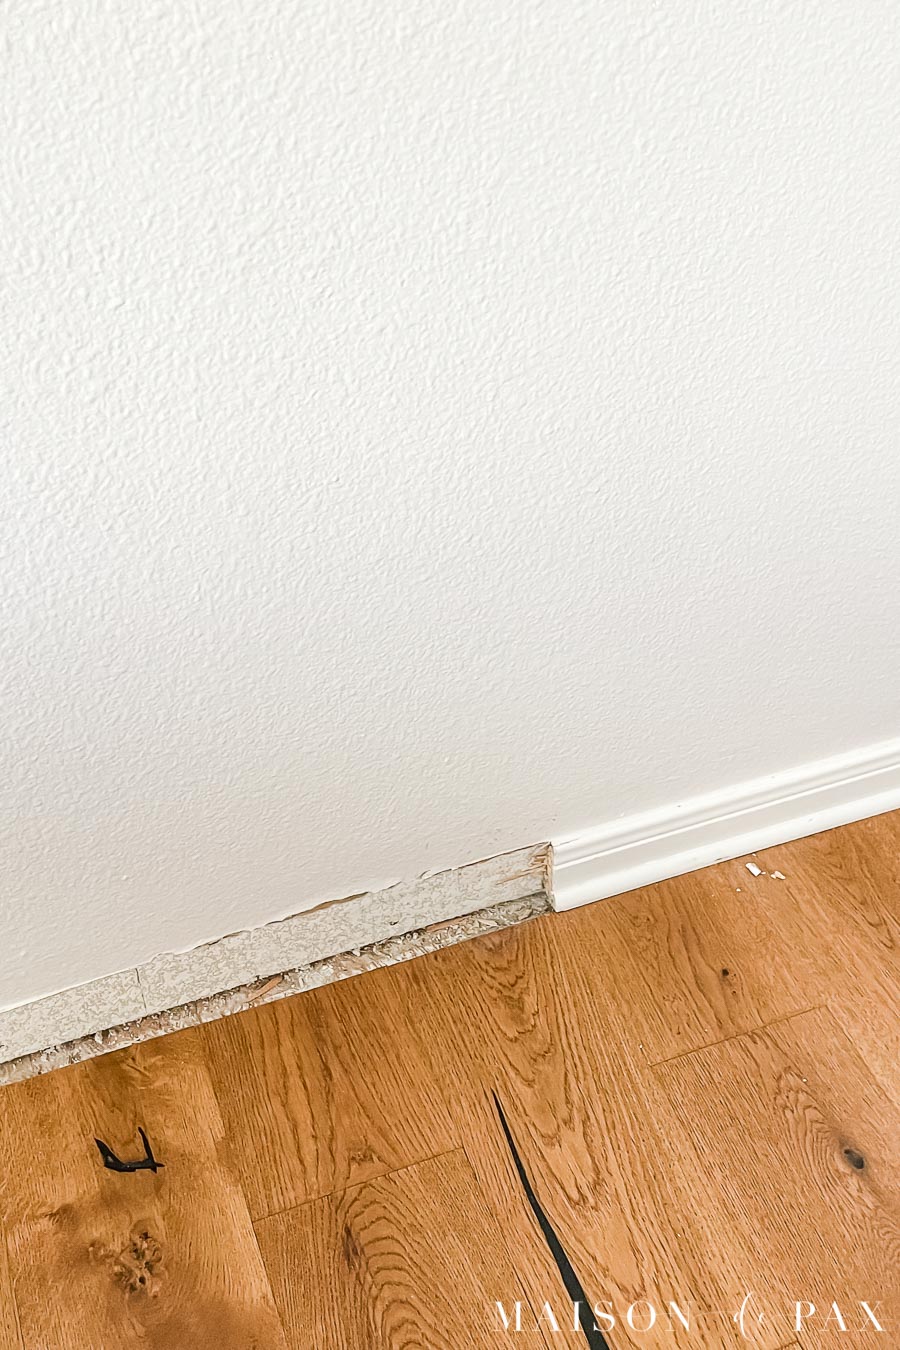
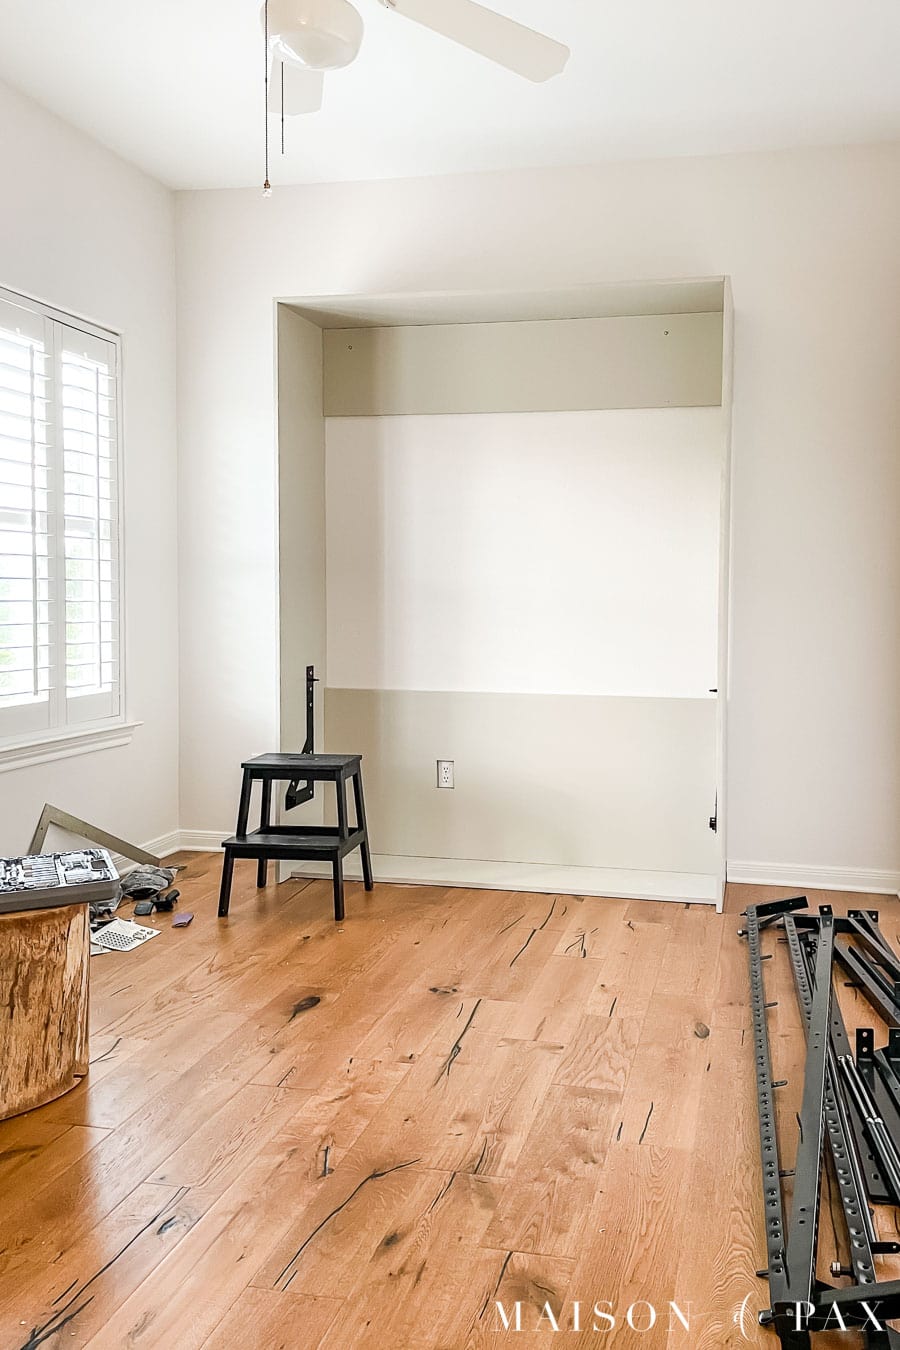
6. Install the cabinet
Begin by removing the baseboards where you plan to put the murphy bed. Cut the baseboard exactly where you plan to put the cabinet. Cut the caulk with your utility knife and pry off the finishing nails using the pry bar.
Murphy beds must be attached to studs for safety. Your murphy bed hardware kit has instructions regarding exactly how to secure the mounting cleats and bed to the wall.
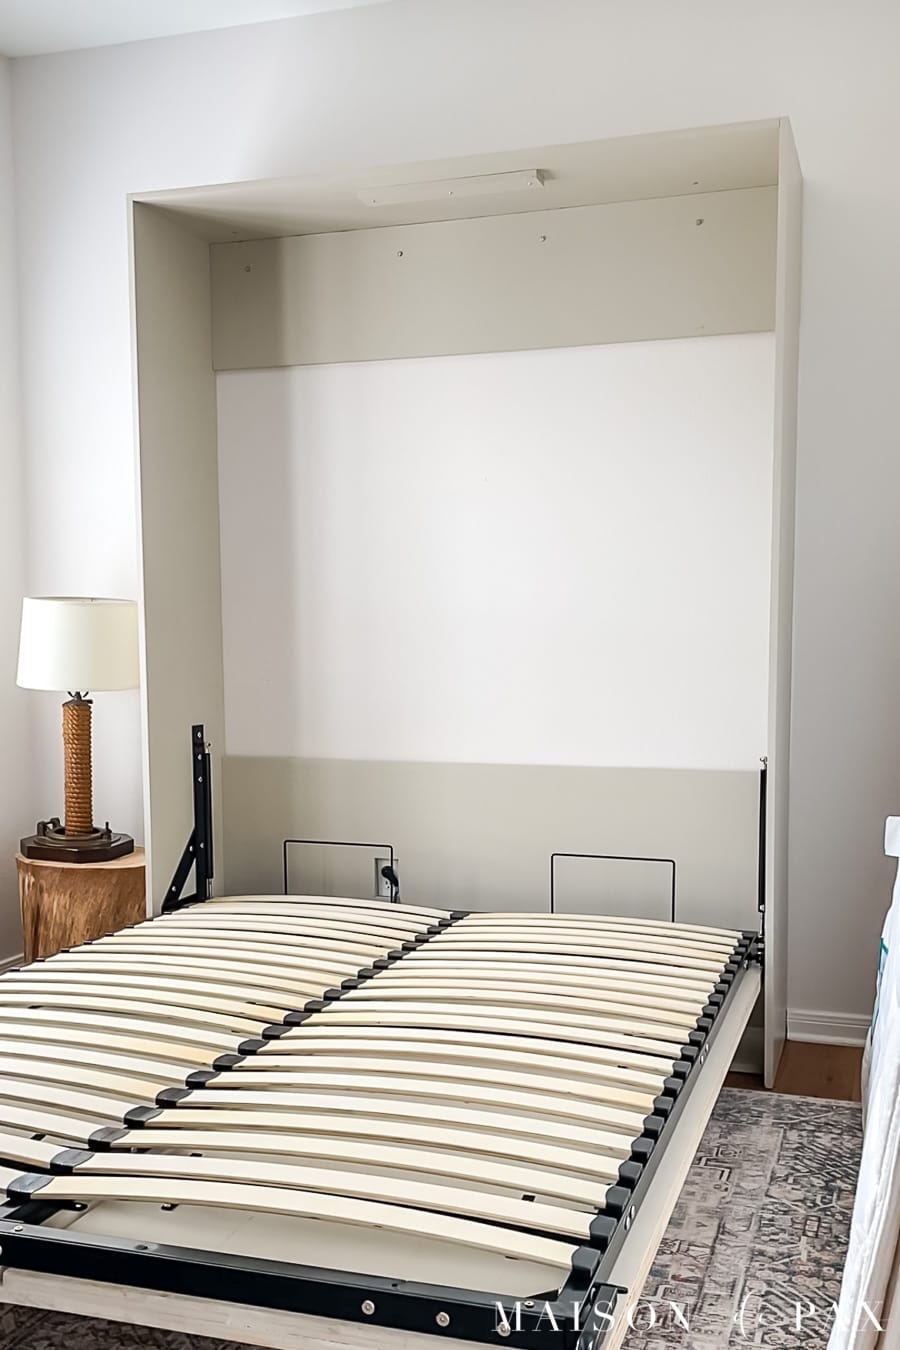
7. Attach the doors and add hardware
The mattress support is located on the door, so again, follow your murphy bed kit instructions. We found that our wall was not completely straight, which led to the need to sand down the edges of the door where they were inclined to rub on the frame. Be patient and have touch up paint ready. 😉 Then install your handles

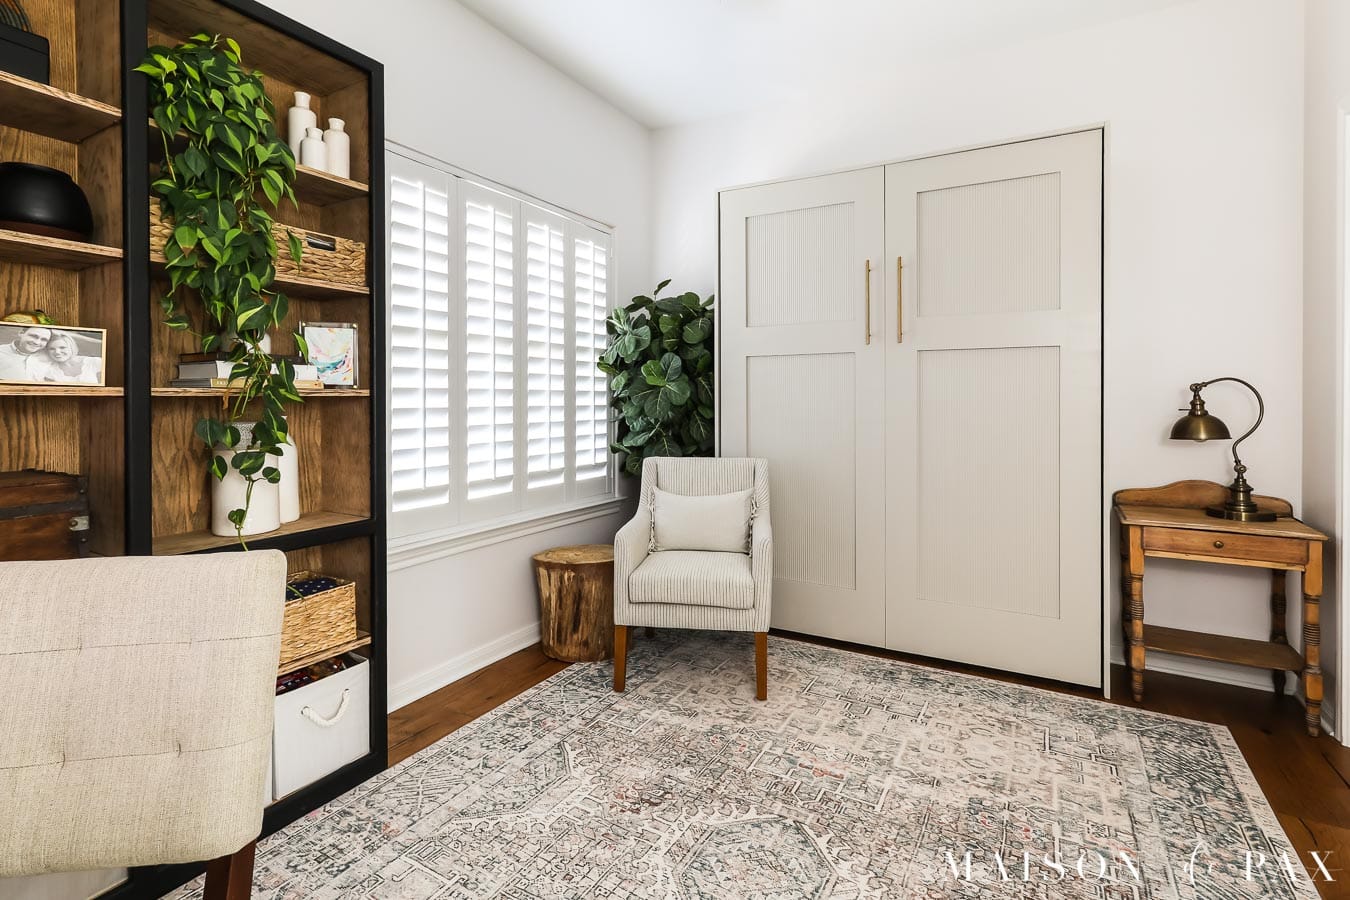
Styling a Murphy Bed
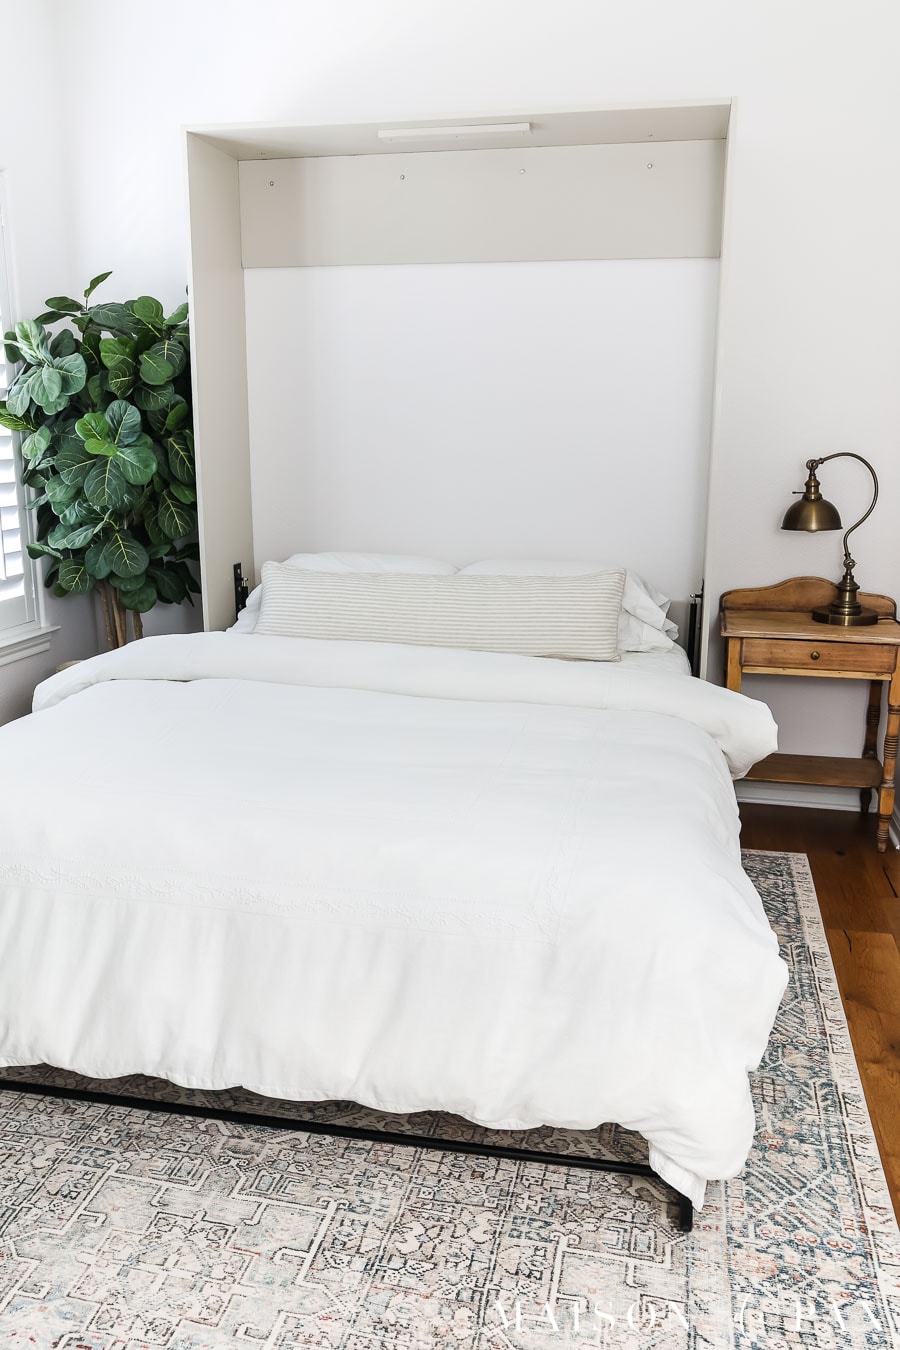
There is room to fold up the bed with sheets, but not pillows and blankets. So we store those in the laundry room until we need them. Since there are no side rails or footboard, I use an oversized quilt or duvet to make the bed. I prefer it to hang off at the foot of the bed and side of the bed to cover up the metal leg support.
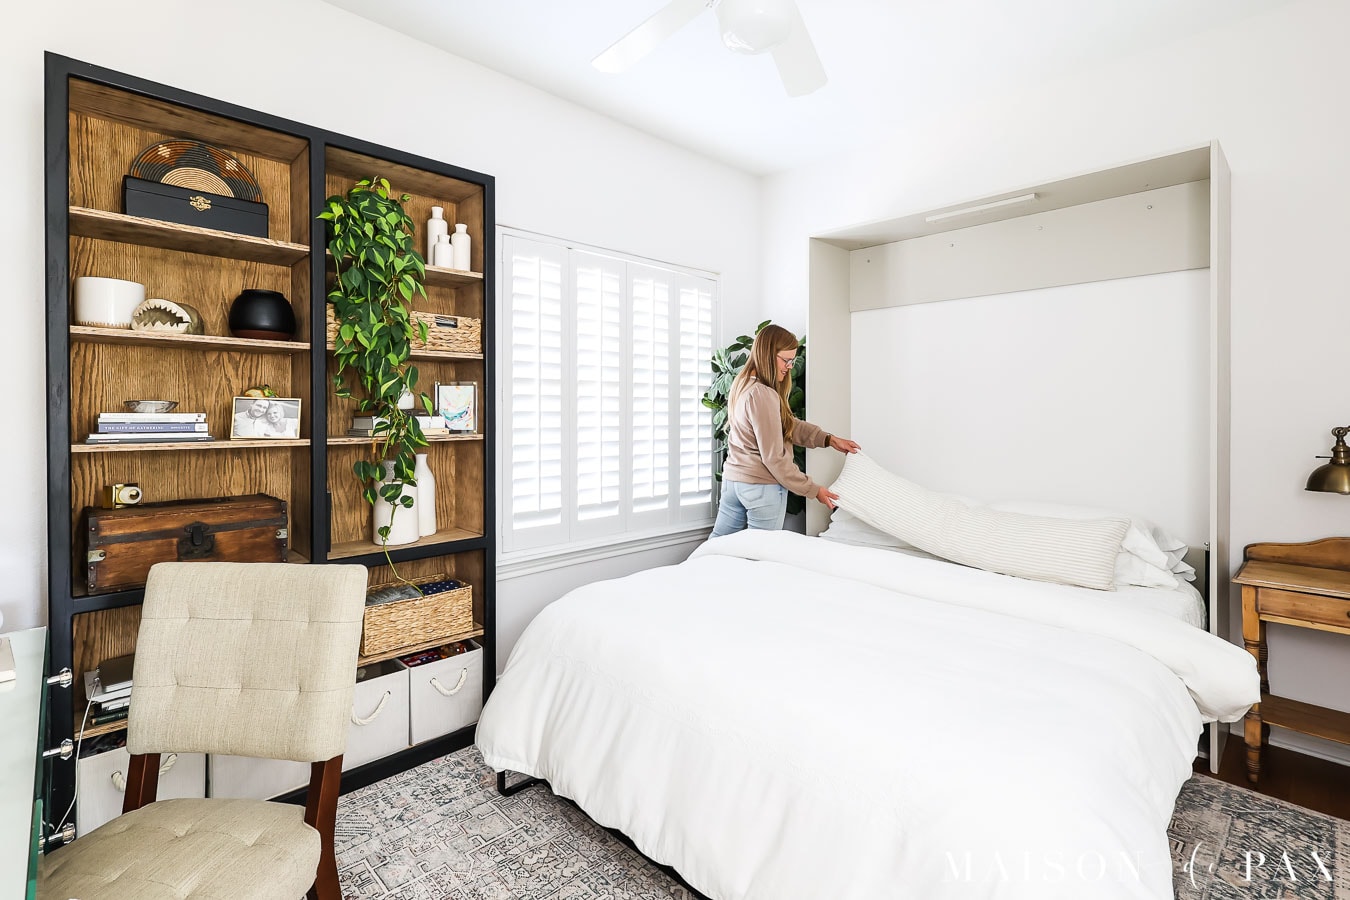
The header board is a little lower than a typical headboard, so I have plans to paint a large canvas to go at the head of the bed.
Murphy Bed FAQs
I want to finish by answering a few common questions regarding DIY murphy beds.
Is it cheaper to build a murphy bed?
It might be! I would guess our cost came out to approximately $950 (though I feel I should point out that prices of wood, the kit, and trim has all gone up since we purchased).
It is difficult to find murphy beds for less than that. And anything close to that price is usually made out of particle board and lacking style. We were able to get exactly what we wanted using hardwood plywood and solid wood trim.
How much does it cost to DIY a murphy bed?
That depends! We were able to do it with a Rockler kit, real wood, and quality plywood for less than $1000. If you skip the kit or use mdf, you should be able to do it for less.
Can you turn a regular bed into a murphy bed?
I imagine that someone is creative enough to figure this out! But for a murphy bed to look more like a cabinet when it is finished, it would be hard to use the headboard or footboard of a bed.
Can any mattress be used in a murphy bed?
Your mattress can only be as deep as your cabinet. And it will need to fit with the specific hardware you use. Our kit recommended a 10″ deep mattress.
How hard is it to build a murphy bed?
DIY murphy bed projects are not for the faint of heart! As you can see in our list of materials, it required quite a few power tools. So keep that in mind if you are new to DIY. I am so so glad we did it, but it was a significant investment of time and effort.
Do murphy beds have to be attached to the wall?
Yes! For safety, you want to secure the cabinet into studs.
DIY Bed for Small Spaces
I hope you found this murphy bed project helpful! This same process could be adapted for twin sized murphy beds or full sized ones.
Whether you are looking to save space in a studio apartment or simply need a room in a large home to be able to serve multiple purposes, I think murphy beds are such a great option.
[ad_2]
Source link
More Stories
How To Choose The Right Concrete Floor Cutting Company
The Different Types of VA Loans
Save Money By Using Granite Remnants